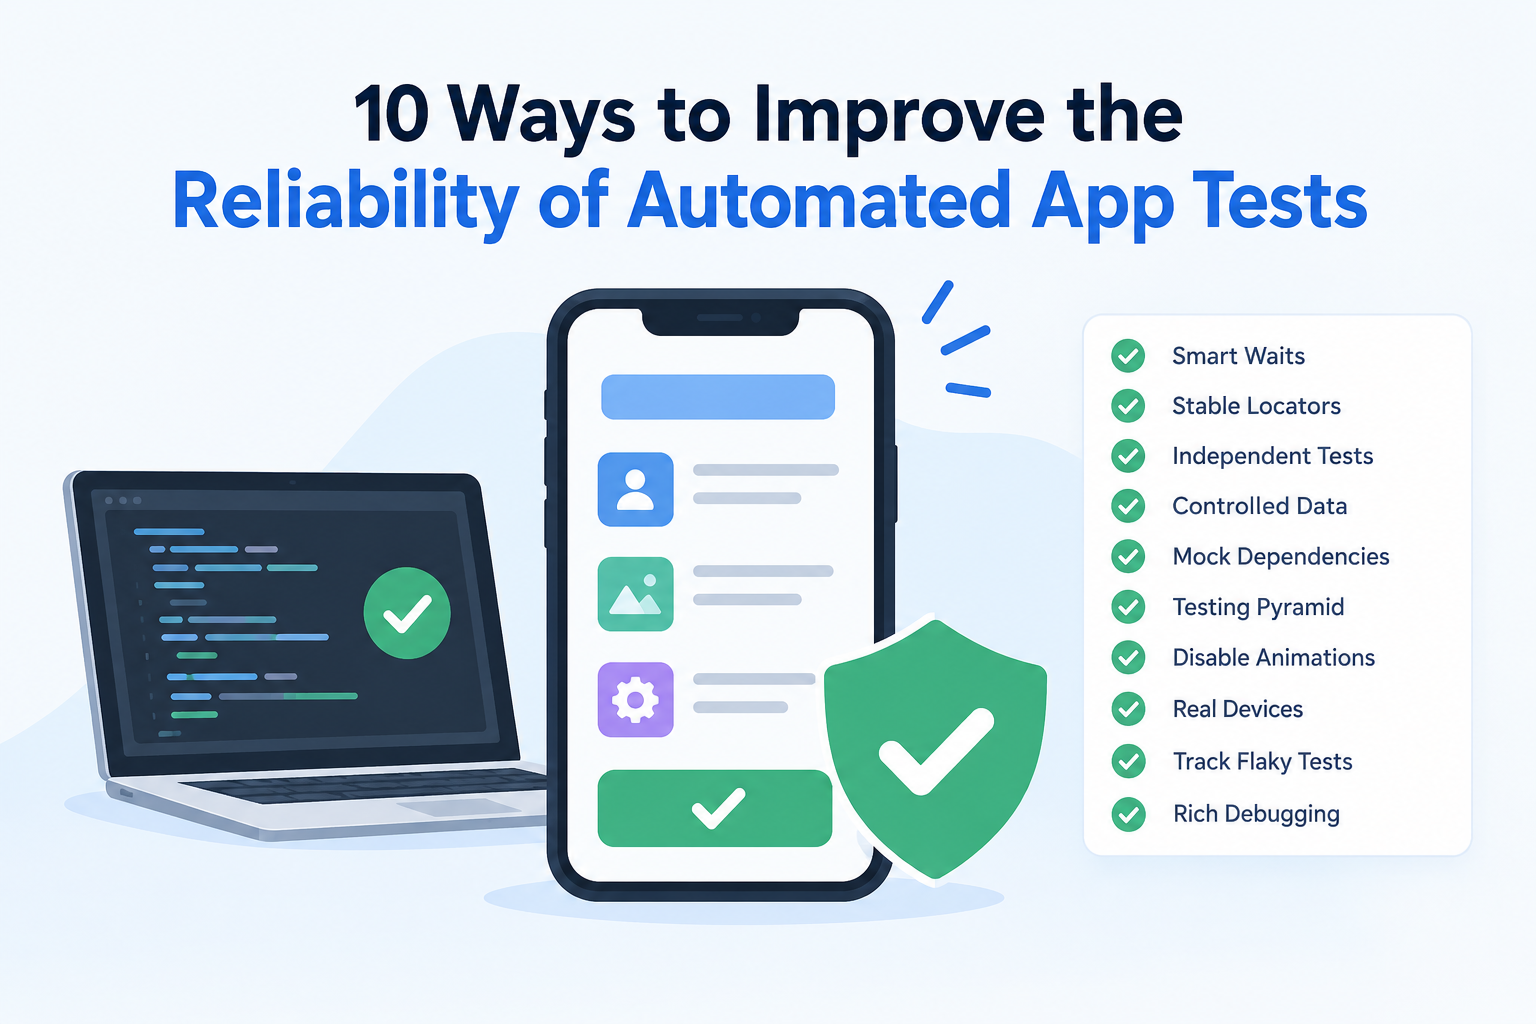
10 Ways to Improve the Reliability of Automated App Tests
Why test reliability matters more than test count
An automated test suite is only useful if your team trusts it. When tests fail randomly, developers start re-running pipelines, ignoring red builds and merging anyway. At that point, automation slows releases down instead of speeding them up.
Flaky tests are especially common in UI testing, where timing, animations, network calls and device differences all affect the result. Cross-platform frameworks add another layer: Flutter testing, for example, has its own rules for widget trees, frame rendering and asynchronous code.
The good news is that most flakiness has predictable causes. Here are 10 practical ways to make your automated app tests more reliable, whether you’re writing native UI tests, Appium scripts or Flutter integration tests.
10 ways to make automated app tests more reliable
1. Replace fixed sleeps with smart waits
Hard-coded delays like sleep(5) are the most common source of flaky tests. Too short and the test fails on a slow device; too long and the whole suite crawls.
Wait for a condition instead: an element becoming visible, a loading spinner disappearing, or a network call completing. Espresso and XCUITest synchronize with the UI automatically, and Appium offers explicit waits. In Flutter testing, use pumpAndSettle() to wait until animations and frames finish, and pump() with a duration when you need precise control.
2. Use stable, unique element locators
Locators based on screen position, long XPath chains or visible text break whenever the layout or copy changes. Reliable UI testing depends on identifiers that are stable by design.
Add accessibility IDs on iOS, resource IDs or test tags on Android, and Key values on Flutter widgets. Then find elements with find.byKey() rather than find.text(). Your tests become resilient to redesigns and translations.
3. Keep every test independent
Tests that rely on each other’s state fail in confusing ways. If test 4 assumes test 3 logged in a user, a single failure cascades through the suite, and tests can’t run in parallel.
Give each test its own setup and teardown. Start from a known app state, create the data it needs, and clean up after. Independent tests are also easier to debug, because a failure points to one cause.
4. Control your test data
Shared accounts and live databases change between runs. Someone else’s test edits a record, a promo expires, or an account gets locked.
Seed fresh data for each run through APIs or fixtures, use unique identifiers per test, and reset state afterwards. For predictable UI testing, the screen should look the same every time the test opens it.
5. Mock unstable external dependencies
Third-party APIs, payment gateways and analytics services add latency and outages you don’t control. When they hiccup, your UI tests fail even though your app is fine.
Mock or stub these services in most tests, and keep a small, separate set of end-to-end tests that hit the real integrations. In Flutter testing, dependency injection plus packages like mockito or mocktail makes it easy to swap real services for fakes in widget tests.
6. Follow the testing pyramid
UI tests are the slowest and most fragile layer, so don’t use them to check everything. Push logic checks down to unit tests, and cover component behavior with integration or widget tests.
Flutter makes this especially practical. Widget tests render individual components in a test environment without a device, run in milliseconds, and catch most UI bugs. Save full integration_test runs for critical user journeys like sign-up, checkout and login.
7. Disable animations and control the environment
Animations, transitions and system pop-ups cause timing issues that look random. Turn off animations on Android test devices, pre-grant permissions, and dismiss or disable system dialogs before tests start.
Also fix the variables you can: device locale, time zone, font scaling and screen orientation. A test that passes in English but fails in German is a reliability problem, not a localization feature.
8. Test on real devices, not just emulators
Emulators are fast and cheap for early feedback, but they hide real-world problems: OEM skins, memory limits, carrier networks and GPU differences. Tests that pass locally and fail in production erode trust in the whole suite.
Run your critical UI testing and Flutter testing flows on a real device cloud such as HeadSpin, BrowserStack or Firebase Test Lab. Cover the devices and OS versions your analytics show your users actually have.
9. Track and quarantine flaky tests
You can’t fix what you don’t measure. Track pass rates per test over time, and flag any test that fails and then passes on retry without a code change.
Move flaky tests into a quarantine suite so they don’t block merges, and assign an owner to fix each one. Use automatic retries sparingly: one retry can absorb a genuine glitch, but retries that hide real flakiness just postpone the problem.
10. Capture rich debugging artifacts
A failure that says only “element not found” wastes hours. Configure your pipeline to save screenshots, screen recordings, device logs and network traces for every failed run.
In Flutter, you can capture screenshots inside integration_test and print the widget tree on failure. Good artifacts turn a mystery failure into a five-minute fix, and they help you tell a real bug apart from a test problem.
Conclusion
Reliable automation isn’t about writing more tests; it’s about writing tests your team believes. Smart waits, stable locators, independent tests and controlled data remove most flakiness at the source. Real devices, flaky-test tracking and rich artifacts handle the rest.
Whether you’re building native UI testing suites or scaling Flutter testing across Android and iOS, start with the two or three fixes that match your most frequent failures. A green build should mean the app works, and a red build should mean something is truly broken. That trust is what lets teams release faster.